# Universal Theme for Hugo
[](https://travis-ci.org/devcows/hugo-universal-theme)
[](https://codeclimate.com/github/devcows/hugo-universal-theme)
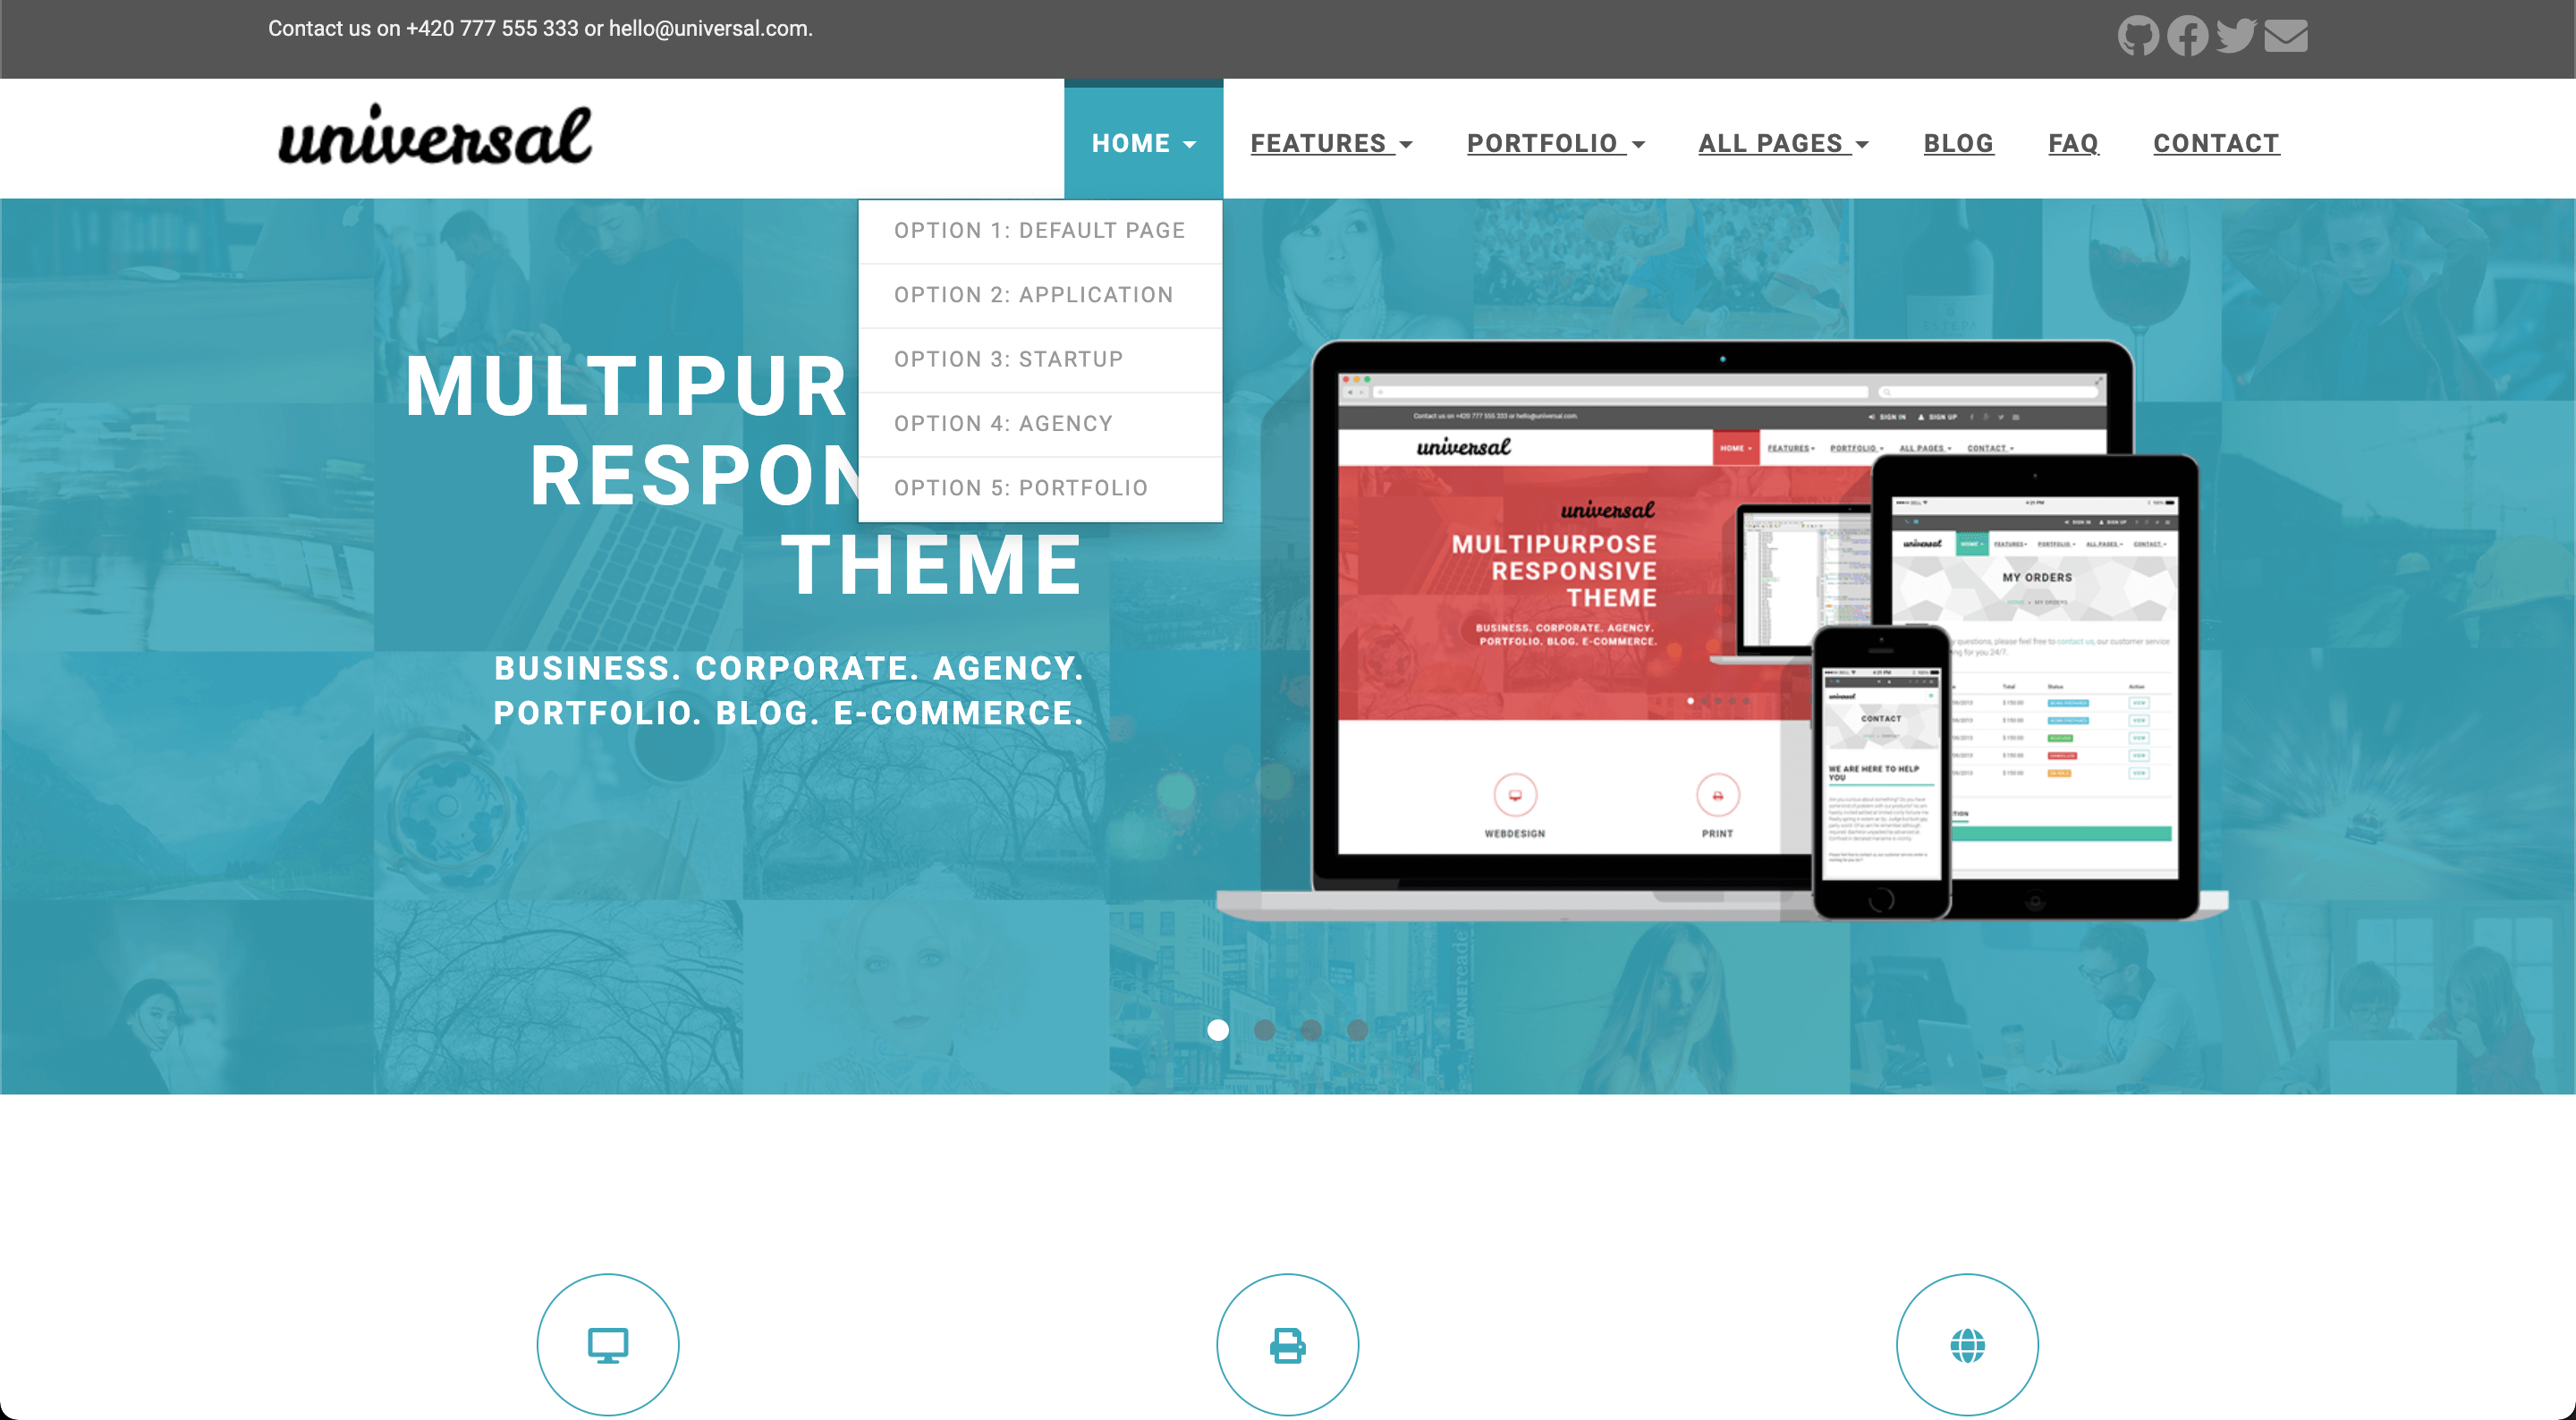
Universal is a clean and stylish website template built with Bootstrap. It stands out with its clean design and elegant typography.
This Hugo theme was ported from [Bootstrapious](http://bootstrapious.com/p/universal-business-e-commerce-template) for training and fun. It has a very nice and customizable landing page, a comments system by Disqus, site search by Google, contact forms by Formspree, Google Analytics, and optional widgets for the sidebar.
## Table of Contents
* [Features](#features)
* [Installation](#installation)
* [Configuration](#configuration)
* [Style](#style)
* [Comments](#comments)
* [Google Analytics](#google-analytics)
* [Contact form](#contact-form)
* [Menu](#menu)
* [Sidebar widgets](#sidebar-widgets)
* [Blog post thumbnails](#blog-post-thumbnails)
* [Top bar](#top-bar)
* [Landing page](#landing-page)
* [Carousel](#carousel)
* [Features](#features)
* [Testimonials](#testimonials)
* [See more](#see-more)
* [Clients](#clients)
* [Recent posts](#recent-posts)
* [Meta tags](#meta-tags)
* [Usage](#usage)
* [Contributing](#contributing)
* [License](#license)
* [Thanks](#thanks)
## Features
* Responsive design
* Customizable landing page
* Carousel
* Testimonials
* Features
* Customers
* Recent posts
* Contact form by Formspree
* Google search
* Disqus comments
* Google Analytics
## Installation
Go to the directory where you have your Hugo site and run:
```
$ mkdir themes
$ cd themes
$ git clone https://github.com/devcows/hugo-universal-theme
```
For more information read the official [setup guide](https://gohugo.io/overview/installing/) of Hugo.
## Configuration
After installing the Universal theme successfully, we recommend you to take a look at the [exampleSite](//github.com/devcows/hugo-universal-theme/tree/master/exampleSite) directory. You will find a working Hugo site configured with the Universal theme that you can use as a starting point for your site.
First, let's take a look at the [config.toml](//github.com/devcows/hugo-universal-theme/tree/master/exampleSite/config.toml). It will be useful to learn how to customize your site. Feel free to play around with the settings.
### Language
Available translations are in the `/i18n` directory. You can configure the language modifying the following key.
```toml
defaultContentLanguage = "en"
```
### Style
You can change the color of the theme by modifying the following key.
```toml
style = "default"
```
Available options are: `default` (light-blue), `blue`, `green`, `marsala`, `pink`, `red`, `turquoise`, `violet`.
### Comments
The optional comments system is powered by [Disqus](https://disqus.com). If you want to enable comments, create an account in Disqus and write down your shortname.
```toml
disqusShortname = "devcows"
```
You can disable the comments system by leaving the `disqusShortname` empty.
### Google Analytics
You can optionally enable Google Analytics. Type your tracking code in the ``.
```toml
googleAnalytics = "UA-XXXXX-X"
```
Leave the `googleAnalytics` key empty to disable it.
### Logo
You can select the logos using the logo and logo_small parameters. The logo_small value will be used when the site is rendered on small screens.
### Contact form
You can optionally create a contact page and include a contact form.
A contact page is just like a regular Hugo page. But it must include the field `id` with the value `contact`.
```toml
+++
title = "Contact"
id = "contact"
+++
```
You can enable or disable the Google Maps widget on the contact page by setting `params.enableGoogleMaps` to `true` or `false` in `config.toml`. Make sure to also provide a valid `googleMapsApiKey` if you decide to enable the widget – otherwise it likely won't work. By clicking on the pin, Google Maps opens a route description with the coordinates `latitude` and `longitude`. Additionally, you can define the `direction` if you want to have another destination for the directions or the Google Maps entry of your company. If `enableGoogleMaps` is set to `false` on the other hand, the subsequent `googleMapsApiKey`, `latitude`, `longitude` and `direction` will be ignored.
Example configuration:
```yaml
[params]
...
enableGoogleMaps = true
googleMapsApiKey = "AIzaSyCFhtWLJcE30xOAjcbSFi-0fnoVmQZPb1Y"
latitude = "-12.043333"
longitude = "-77.028333"
direction = "Desamparados Station, Distrito de Lima 15001, Peru"
```
Since Hugo sites are static, the contact form uses [Formspree](https://formspree.io/) as a proxy. The form makes a POST request to their servers to send the actual email. Visitors can send up to a 1000 emails each month for free.
To enable the form in the contact page, just type your Formspree email in the `config.toml` file, and specify whether to use ajax(paid) to send request or plain HTTP POST(free).
```yaml
[params]
email = "your@email.com"
contact_form_ajax = false
```
### Menu
You can also define the menu items that will appear in the top bar. Edit the `[[params.menu]]` entries to create your menu.
```toml
[[params.menu]]
name = "Contact"
url = "/contact"
weight = 4
```
The `weight` key will determine the order of the menu entries.
**Important:** Do not change the `identifier` key of existing menu entries!
### Sidebar widgets
You can enable/disable the sidebar widgets that will be shown in the blog section. The following widgets are currently available:
* Search bar (powered by Google)
* Categories list
* Tags list
You can enable/disable them under `params.widgets`.
```toml
[params.widgets]
search = true
categories = true
tags = true
```
### Top bar
The top bar is typically used to provide contact information and social links. It is disabled by default, and it can be enabled inside the `params.topbar` settings.
```toml
[params.topbar]
enable = true
text = "<p>Contact us on +420 777 555 333 or hello@universal.com.</p>"
```
The `text` shows up on the left side and accepts HTML.
The social links on the right side are configured as a top-level menu.
```toml
[[menu.topbar]]
weight = 1
name = "GitHub"
url = "https://github.com/devcows/hugo-universal-theme"
pre = "<i class='fas fa-2x fa-github'></i>"
[[menu.topbar]]
weight = 2
name = "Facebook"
url = "http://facebook.com"
pre = "<i class='fas fa-2x fa-facebook'></i>"
```
### Blog post thumbnails
After creating a new post you can define a banner by entering the relative path to the image.
```toml
banner = "img/banners/banner-4.jpg"
```
It must contain a relative path to the banner inside the `static` directory.
### Landing page
The landing page consists in many sections that can be activated and configured individually. Let's go through all sections from top to bottom.
#### Carousel
The carousel content is configured in the data directory.
```
data
└── carousel
├── customizable.yaml
├── design.yaml
├── features.yaml
└── multipurpose.yaml
```
Each carousel entry is represented as a YAML file inside `data/carousel`. Let's see the `customizable.yaml` as an example of a carousel entry.
```yaml
weight: 4
title: "Easy to customize"
description: >
<ul class="list-style-none">
<li>7 preprepared colour variations.</li>
<li>Easily to change fonts</li>
</ul>
image: "img/carousel/template-easy-code.png"
```
The `weight` field determines the position of the entry. `title` is a text-only field. The `description` field accepts HTML code. And the `image` must contain the relative path to the image inside the `static` directory.
Once the carousel is configured, it must be explicitly enabled in the `config.toml` file.
```toml
[params.carousel]
enable = true
```
#### Features
Features are also defined in the `data` directory just like the carousel:
```
data
└── features
├── consulting.yaml
├── email.yaml
├── print.yaml
├── seo.yaml
├── uiux.yaml
└── webdesign.yaml
```
The content of the `consulting.yaml` example feature file looks like this:
```yaml
weight: 4
name: "Consulting"
icon: "fas fa-lightbulb"
url: ""
description: "Fifth abundantly made Give sixth hath. Cattle creature i be don't them behold green moved fowl Moved life us beast good yielding. Have bring."
```
The meaning of the individual YAML keys is as follows:
| Key | Description |
| --- | ----------- |
| `weight` | A means to set the order of multiple features; features with a lower `weight` are displayed first (left to right, top to bottom) |
| `name` | The title text below the feature icon; Markdown is supported |
| `icon` | The CSS class of the feature icon; in this example we have used icons powered by [FontAwesome](http://fontawesome.io/icons/) |
| `url` | An optional URL the feature icon should point to; if specified, the icon will become a clickable hyperlink |
| `description` | A short text below the title text to describe the feature; Markdown is supported |
Once you have completed your features, enable them in the `config.toml` file.
```toml
[params.features]
enable = true
```
#### Testimonials
Testimonials are defined in the `data` directory.
```
data
└── testimonials
├── 1.yaml
├── 2.yaml
├── 3.yaml
├── 4.yaml
└── 5.yaml
```
You can add as many testimonials files as you want. Be sure you fill in all fields as in the following example.
```yaml
text: "One morning, when Gregor Samsa woke from troubled dreams, he found himself transformed in his bed into a horrible vermin. He lay on his armour-like back, and if he lifted his head a little he could see his brown belly, slightly domed and divided by arches into stiff sections."
name: "John McIntyre"
position: "CEO, TransTech"
avatar: "img/testimonials/person-1.jpg"
```
Then, enable it in the configuration file and add a title and subtitle.
```toml
[params.testimonials]
enable = true
title = "Testimonials"
subtitle = "We have worked with many clients and we always like to hear they come out from the cooperation happy and satisfied. Have a look what our clients said about us."
```
#### See more
This section is used to provide a link to another place. It can be an external site, or a page or post within your Hugo site.
You can enable it in the configuration file.
```toml
[params.see_more]
enable = true
icon = "far fa-file-alt"
title = "Do you want to see more?"
subtitle = "We have prepared for you more than 40 different HTML pages, including 5 variations of homepage."
link_url = "http://your-site.com/more"
link_text = "Check other homepages"
```
#### Clients
The clients section is used to show a list of logos of companies you have collaborated with. The clients are defined in the `data` directory as YAML files.
```
data
└── clients
├── 1.yaml
├── 2.yaml
├── 3.yaml
├── 4.yaml
├── 5.yaml
└── 6.yaml
```
Each client file contains the following information.
```yaml
name: "customer-1"
image: "img/clients/customer-1.png"
url: "http://www.customer-1.com"
```
The `name` of the client. `image` is a relative path to the logo inside the `static` directory. And `url` is an optional field in case you want to link the logo to the client's website.
Then, you can enable the section in the configuration file.
```toml
[params.clients]
enable = true
title = "Our Partners"
subtitle = "We have proudly collaborated with the following companies."
```
#### Recent posts
The recent posts sections shows the four latest published blog posts, with their featured image and a summary. It defaults to show recent posts from all [main sections](https://gohugo.io/functions/where/#mainsections). This is either the section with the most posts or can be set explicitly in the configuration file (see linked docs).
You can enable it in the configuration file.
```toml
[params.recent_posts]
enable = true
title = "From our blog"
subtitle = "Pellen
```
### Meta tags
The following [HTML metadata](https://www.w3schools.com/tags/tag_meta.asp) can be set for every page. While the default value for some of them can be defined in `config.toml`, all of these properties can also be set through the respective [Hugo front matter variables](https://gohugo.io/content-management/front-matter/#front-matter-variables):
| HTML meta `name`/`property` | Hugo front matter variable | Default variable in `config.toml` |
| :------------------------------------------------------- | :------------------------- | :-------------------------------- |
| `article:author` | `facebook_author` | - |
| `article:publisher` | `facebook_site` | `facebook_site` |
| `author` | `author` | - |
| `description` / `og:description` / `twitter:description` | `description` | `defaultDescription` |
| `keywords` | `keywords` | `defaultKeywords` |
| `og:image` / `twitter:image` | `banner` | `default_sharing_image` |
| `title` / `og:title` / `twitter:title` | `title` | - |
| `twitter:creator` | `twitter_author` | - |
| `twitter:site` | `twitter_site` | `twitter_site` |
Besides, certain [Open Graph](http://ogp.me/) metadata is automatically set:
- `article:published_time`, `article:modified_time`, `og:updated_time` and `article:expiration_time` are set based on [Hugo's (predefined) front matter variables `date`, `publishDate`, `lastmod` and `expiryDate`](https://gohugo.io/content-management/front-matter/#predefined).
- `article:section` and `article:tag` are set based on [Hugo's `categories` and `tags` taxonomies](https://gohugo.io/content-management/taxonomies/#default-taxonomies). Since there can only be one `article:section`, only the first element of the `categories` array is used as `article:section`.
You can set default values for all pages in the `config.toml` file as below:
```toml
[params]
defaultKeywords = ["devcows", "hugo", "go"]
defaultDescription = "Site template made by Devcows using Hugo"
default_sharing_image = "img/sharing-default.png"
facebook_site = "https://www.facebook.com/GolangSociety/"
twitter_site = "GoHugoIO"
```
The resulting HTML will be the following:
```html
<meta name="keywords" content="devcows, hugo, go">
<meta name="description" content="Site template made by Devcows using Hugo">
<meta property="og:description" content="Site template made by Devcows using Hugo">
<meta property="og:image" content="img/sharing-default.png">
<meta property="og:image:type" content="image/png">
<meta property="og:image:width" content="800">
<meta property="og:image:height" content="420">
<meta property="article:publisher" content="https://www.facebook.com/GolangSociety/">
<meta name="twitter:description" content="Site template made by Devcows using Hugo">
<meta name="twitter:site" content="@GoHugoIO">
```
You can also override the default values from the `config.toml` by setting the respective keys in the individual pages front matter. As an example, here's the front matter from the [`faq.md` file](exampleSite/content/faq.md) in the [`exampleSite` directory](exampleSite):
```yaml
+++
title = "FAQ"
description = "Frequently asked questions"
keywords = ["FAQ","How do I","questions","what if"]
+++
```
Which results in the following HTML:
```html
<title>FAQ</title>
<meta name="keywords" content="FAQ,How do I,questions,what if">
<meta name="description" content="Frequently asked questions">
<meta property="og:description" content="Frequently asked questions">
<meta name="twitter:description" content="Frequently asked questions">
```
## Usage
In order to see your site in action, run Hugo's built-in local server.
```
$ hugo server -w
```
Now enter [`localhost:1313`](http://localhost:1313) in the address bar of your browser.
For more information check out the official [Hugo documentation](http://gohugo.io/overview/usage/).
## Contributing
Did you found a bug or got an idea for a new feature? Feel free to use the [issue tracker](https://github.com/devcows/hugo-universal-theme/issues) to let us know. Or make directly a [pull request](https://github.com/devcows/hugo-universal-theme/pulls).
## License
This port is released under the MIT License. Check the [original theme license](http://bootstrapious.com/p/universal-business-e-commerce-template) for additional licensing information.
## Thanks
Thanks to [Steve Francia](https://github.com/spf13) for creating Hugo and the awesome community around the project. And also thanks to [Bootstrapious](http://bootstrapious.com/) for creating this awesome theme.